

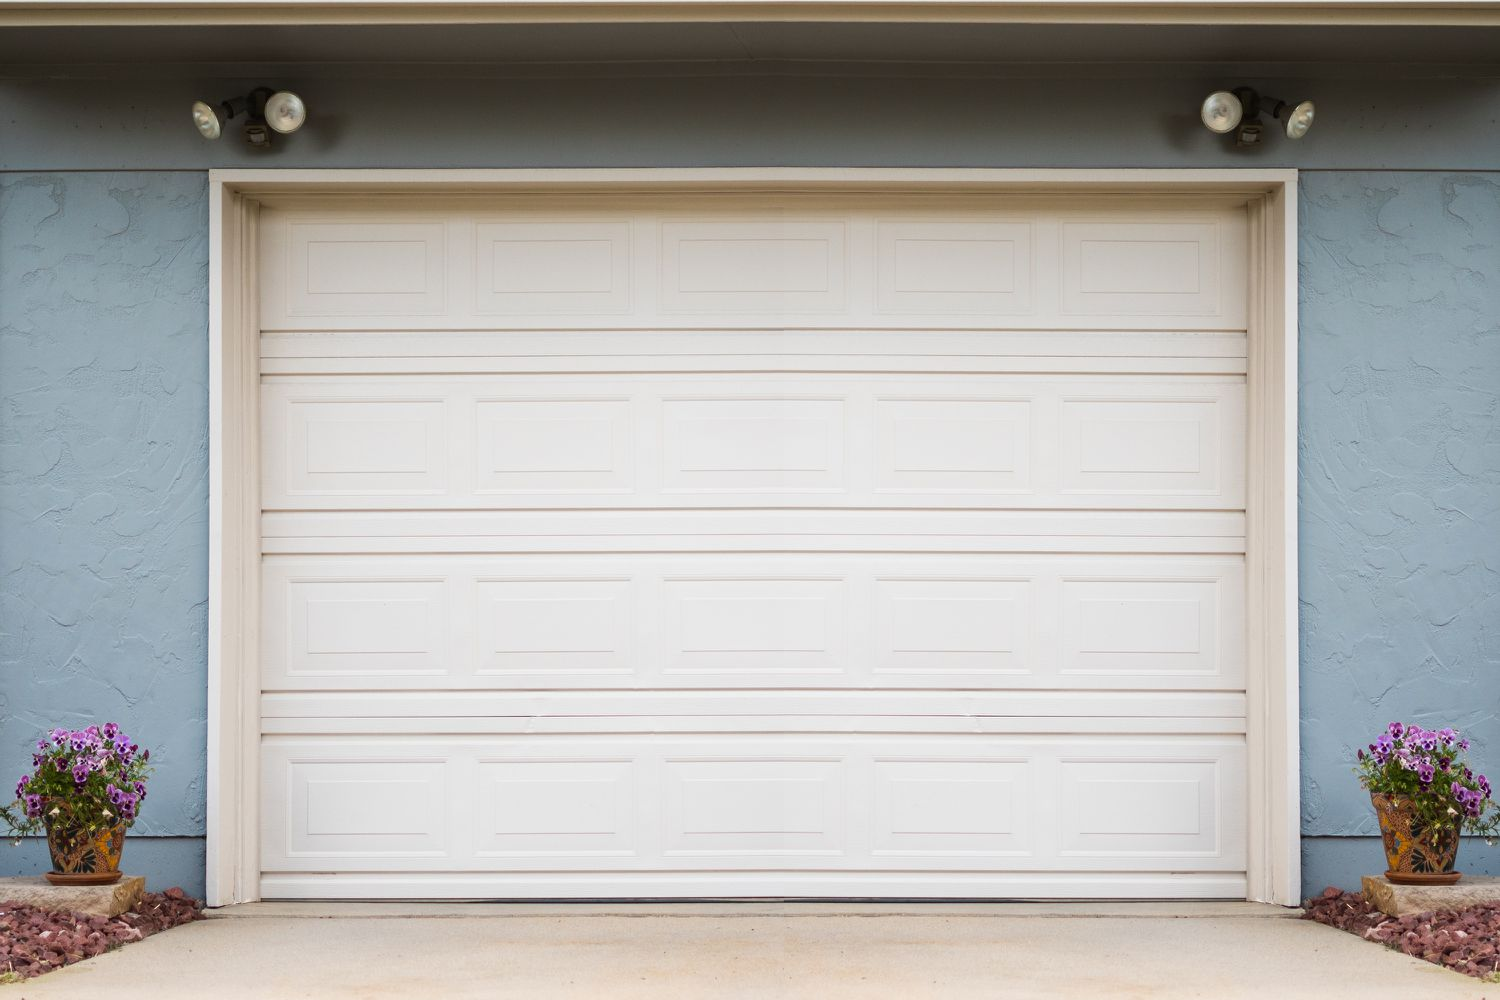
Properly installing garage door weather stripping is crucial for maintaining an energy-efficient home and keeping out drafts, pests, and moisture. This comprehensive guide will walk you through the process step-by-step, ensuring you achieve a tight seal lasting for years.
Weatherstripping is an essential barrier that protects your garage from the elements, helping to maintain a consistent indoor temperature and prevent unwanted intrusions. By following these instructions, you can enhance your home’s energy efficiency, reduce utility bills, and create a more comfortable living environment.
Tools and Materials You’ll Need
Before starting your weather stripping installation, gathering all the necessary tools and materials is essential. Having everything ready will streamline the process and help ensure a smooth installation. Here’s what you’ll need:
Weather Stripping
Select the appropriate type of weather stripping for your garage door. Common options include rubber, vinyl, or metal. Each material has its benefits: rubber is flexible and durable, vinyl is moisture-resistant, and metal provides a sturdy, long-lasting seal.
Measuring Tape
Accurate measurements are crucial for a proper fit. A measuring tape will help you determine the exact lengths of weather stripping needed for your garage door’s top, sides, and bottom.
Utility Knife or Scissors
These tools are essential for cutting the weather stripping to the required sizes. Ensure your utility knife is sharp, or use heavy-duty scissors for clean, precise cuts.
Screwdriver or Drill
Depending on the type of fasteners your weather stripping requires, you’ll need either a screwdriver or a drill. Screws provide a secure attachment, especially for metal weather stripping.
Adhesive
If you are using adhesive-backed weather stripping, ensure you have a strong adhesive suitable for the material and the garage door surface. This will help the weather stripping stay in place over time.
Cleaning Supplies
Before applying the weather stripping, it’s crucial to clean the surface thoroughly. Use a mild detergent and water to remove dirt, dust, and grease. Ensure the area is completely dry before starting the installation to ensure the adhesive or fasteners bond effectively.
Step-by-Step Installation Process
Step 1: Remove the Old Weather Stripping
Inspect and Remove: Begin by thoroughly inspecting the existing weather stripping for any signs of wear, damage, or detachment. Use a utility knife or screwdriver to carefully remove the old stripping. If the weather stripping is glued, gently peel it off to avoid damaging the surface underneath.
Clean the Surface: Once the old weather stripping is removed, clean the area where the new weather stripping will be installed. Use a mild detergent mixed with water to remove any dirt, dust, or adhesive residue. Make sure the surface is completely dry before proceeding to the next step to ensure proper adhesion of the new weather stripping.
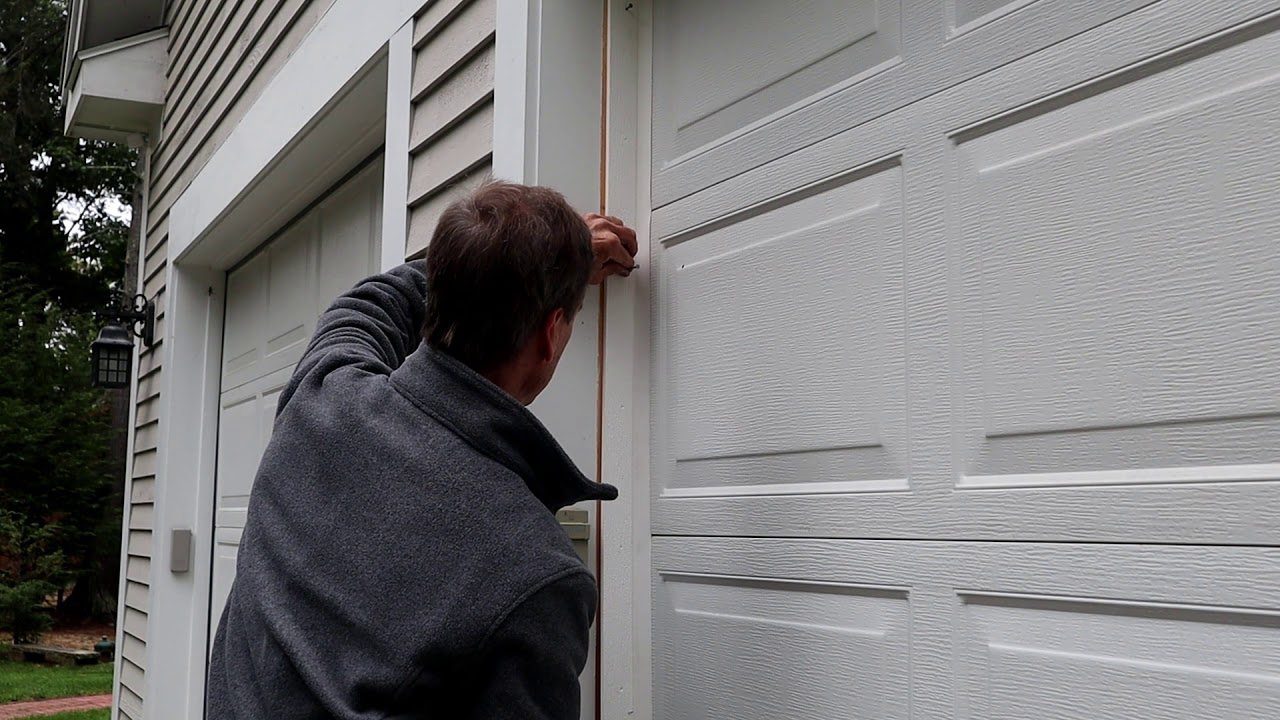
Step 2: Measure and Cut the New Weather Stripping
Measure the Door: Using a measuring tape, accurately measure the top, sides, and bottom of the garage door. These measurements will determine the lengths of weather stripping you will need.
Cut to Size: With the measurements in hand, use a utility knife or heavy-duty scissors to cut the weather stripping to the appropriate lengths. Ensure that the cuts are straight and clean to provide a good seal once installed.
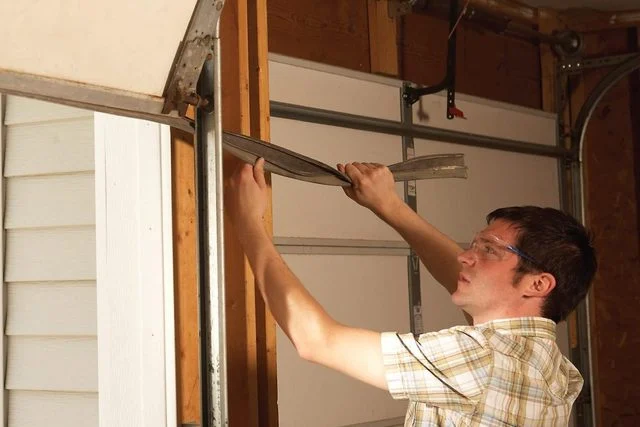
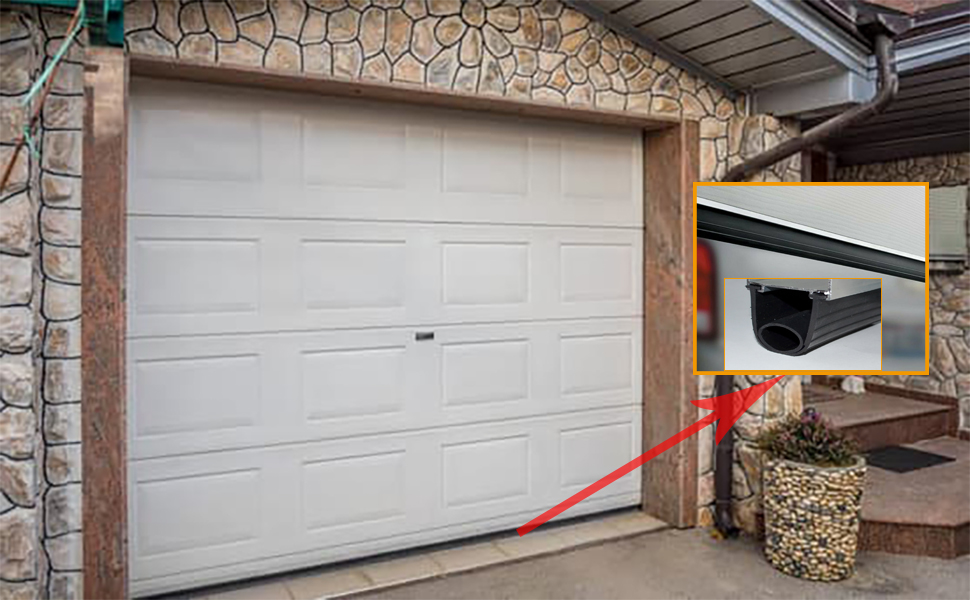
Step 3: Install the Top Weather Stripping
Align and Attach: Take the cut piece of weather stripping for the top of the door and align it with the top edge. Ensure it is centered and straight. Secure it in place using either screws or adhesive, depending on the type of weather stripping you are using.
Seal the Edges: After attaching, press down on the edges firmly to ensure there are no gaps and the seal is tight. This will prevent any air, moisture, or pests from entering through the top.
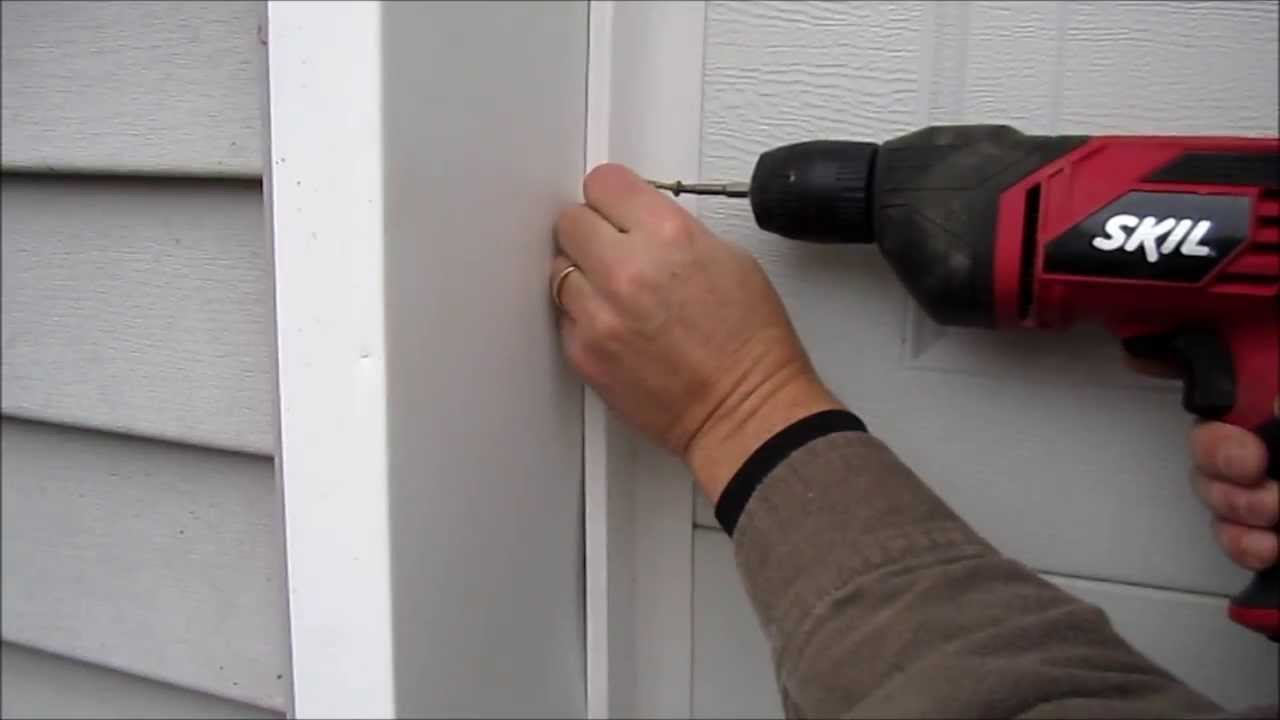
Step 4: Install the Side Weather Stripping
Position and Secure: Align the weather stripping with the sides of the garage door. Begin at the top and work your way down, ensuring the stripping remains straight and flush with the door.
Check for Gaps: As you secure the side weather stripping, make sure there are no gaps where it meets the top weather stripping. Use screws or adhesive as needed to ensure a continuous seal.
Step 5: Install the Bottom Weather Stripping
Align with the Bottom: Position the weather stripping along the bottom edge of the garage door. Ensure it fits snugly against the floor when the door is closed.
Secure in Place: Firmly attach the bottom weather stripping using screws or adhesive. Double-check that it creates a tight seal with the floor, preventing drafts and moisture from entering.
Tips for Maintaining Your Weather-Stripping
Regular Inspection
Conduct a thorough inspection of your weather stripping every few months. Look for signs of wear and tear, such as cracks, splits, or areas where the seal is no longer tight. Regular checks will help you identify and address issues before they become significant problems.
Clean Periodically
Keep your weather stripping clean by wiping it down with a damp cloth. Removing dirt, dust, and debris will prevent these particles from accumulating and causing the material to deteriorate prematurely. A clean surface also ensures a better seal.
Replace When Needed
If you notice any cracks, gaps, or other damage during your inspections, replace the weather stripping promptly. A damaged seal can significantly reduce the effectiveness of weather stripping, allowing drafts and moisture to enter your garage.
Lubricate
For rubber and vinyl weather stripping, use a silicone-based lubricant to keep the material flexible and prevent it from drying out and cracking. Lubrication helps maintain the integrity of the seal, ensuring it remains effective over time.
Troubleshooting Common Issues with Weather Stripping
Issue 1: Weather Stripping Doesn’t Seal Properly
Solution: First, ensure that the weather stripping is aligned correctly and securely fastened. Misalignment can prevent a tight seal, allowing drafts and moisture to seep in. Additionally, check for any warping or damage to the garage door itself, as this can cause gaps. If the door is warped, consider repairing or replacing it to achieve a proper seal with the weather stripping.
Issue 2: Adhesive Weather Stripping Doesn’t Stick
Solution: Clean the surface thoroughly before applying the adhesive weather stripping. Dirt, dust, and grease can prevent the adhesive from bonding properly. Use a mild detergent and water to clean the area, then dry it completely before application. If the adhesive still doesn’t stick, consider using screws or a stronger adhesive to secure the weather stripping in place.
Issue 3: Weather Stripping is Too Short
Solution: Accurate measurement is crucial before cutting weather stripping to size. Measure carefully to ensure you have the correct length. If you’ve already cut the weather stripping too short, you’ll need to purchase additional material and cut it to the correct size. Always measure twice and cut once to avoid this issue.
FAQ: Common Questions About Garage Door Weather Stripping
1. How often should I replace my garage door weather stripping?
Weatherstripping typically needs to be replaced every 1-2 years, depending on the climate and the wear and tear it experiences.
2. Can I install weather stripping on my own?
Yes, installing weather stripping is a relatively simple DIY project that requires basic tools and materials.
3. What type of weather stripping is best for garage doors?
Rubber and vinyl weather stripping are popular choices due to their durability and flexibility. Metal weather stripping is also effective but can be more challenging to install.
4. How do I know if my weather stripping needs to be replaced?
Signs that you need new weather stripping include drafts, increased energy bills, visible gaps, and water or pest intrusion.
5. Will weather stripping reduce noise from my garage?
Yes, weather stripping can help to reduce noise by creating a tighter seal and blocking out external sounds.
Conclusion
Installing garage door weather stripping is a vital home maintenance task that can significantly improve energy efficiency, reduce utility bills, and protect your garage from the elements. By following the step-by-step guide provided, you can easily install weather stripping yourself, ensuring a tight seal that keeps out drafts, moisture, and pests. Regular inspection and maintenance will prolong the life of your weather stripping, helping to maintain a comfortable and secure environment in your garage. Whether you’re a seasoned DIY enthusiast or a beginner, this guide equips you with the knowledge and tools needed to successfully install and maintain garage door weather stripping, enhancing the overall functionality and comfort of your home.


